

Netlify
Netlify is a cloud platform for building and deploying web apps and frontend sites. Netlify can deploy Evidence apps from a Git repository.
Netlify URL Lowercasing
All URLs on Netlify are converted to lowercase. This can cause issues if you're using {params.my_param} to filter data in your markdown. It's recommended to use lowercase any time you're using a URL parameter to filter data, like this:
SELECT * FROM source_name.my_table
WHERE LOWER(my_column) = LOWER('${params.my_param}')
Netlify lets you host a public version of your app for free, or you can create and host a password-protected version with Netlify's $15/month plan.
Prerequisites
- An Evidence project pushed to a Git service like GitHub, GitLab, or Bitbucket.
- A Netlify account.
Deploy Evidence to Netlify
- From the Netlify dashboard, select Add new site > Import an existing project
- Choose your Git provider (GitHub, GitLab, Bitbucket, Azure DevOps)
- Select the repository containing your Evidence project
- In the build settings
- Build command:
npm run sources && npm run build - Publish directory:
build
- Build command:
- In the environment variables
- Click New variable
- With your Evidence dev server running, go to the settings page and copy each of the environment variables
- Alternatively, you can find credentials in
connection.options.yamlfiles in your/sources/your_sourcedirectory. The key format used should beEVIDENCE_SOURCE__[your_source]__[option_name](Note the casing matches your source names, and the double underscores). Note that the values are base64 encoded, and will need to be decoded. - Paste them into the Netlify environment variables section
- (If using a monorepo) edit the base directory to point to your Evidence project
- Click Deploy [your-site-name]
Your app will be available at https://[your-site-name].netlify.app.
Domains, Authentication and Scheduling
Authentication
Global password
Setting a global password requires a Netlify paid plan ($15/month).
Follow the directions provided by Netlify to set up a password for your site:
Netlify Dashboard >> [your-site] >> Site configuration >> Access & security >> Visitor access >> Configure site protection >> Basic password protection
OAuth
Netlify only supports OAuth via GitHub, GitLab, and Bitbucket.
Netlify Dashboard >> [your-site] >> Site configuration >> Access & security >> OAuth
Custom domains
Your app will be deployed to https://[your-site-name].netlify.app
You can set a custom domain using Netlify from the console:
Netlify Dashboard >> [your-site] >> Domain management >> Add a domain
Data refresh
Schedule updates using Build Hooks
If you want your site to update on a regular schedule, you can use GitHub Actions (or another similar service) to schedule regular calls to a Netlify build hook.
- Create a Netlify build hook in Site configuration > Build & deploy > Continuous deployment > Build hooks
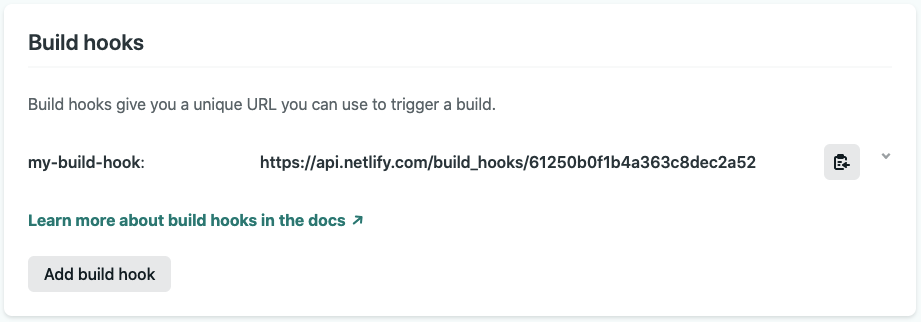 This will give you a URL that GitHub will use to trigger builds
 - Add
NETLIFY_BUILD_HOOKto your Github Repo's Secrets- In your GitHub repo, go to Settings > Secrets > Actions and click New repository secret
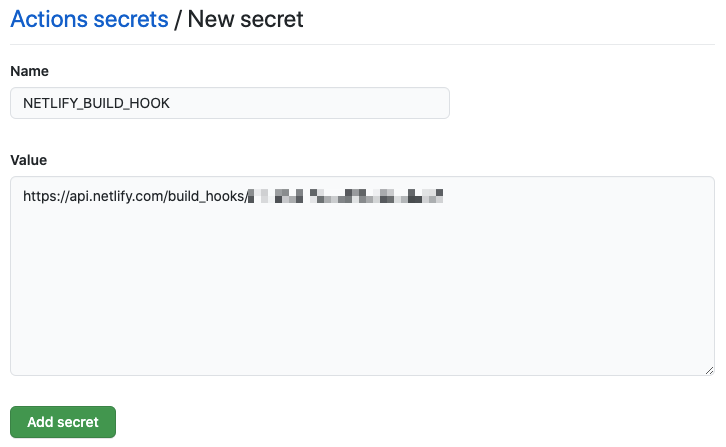
- Add the build hook URL as the secret value
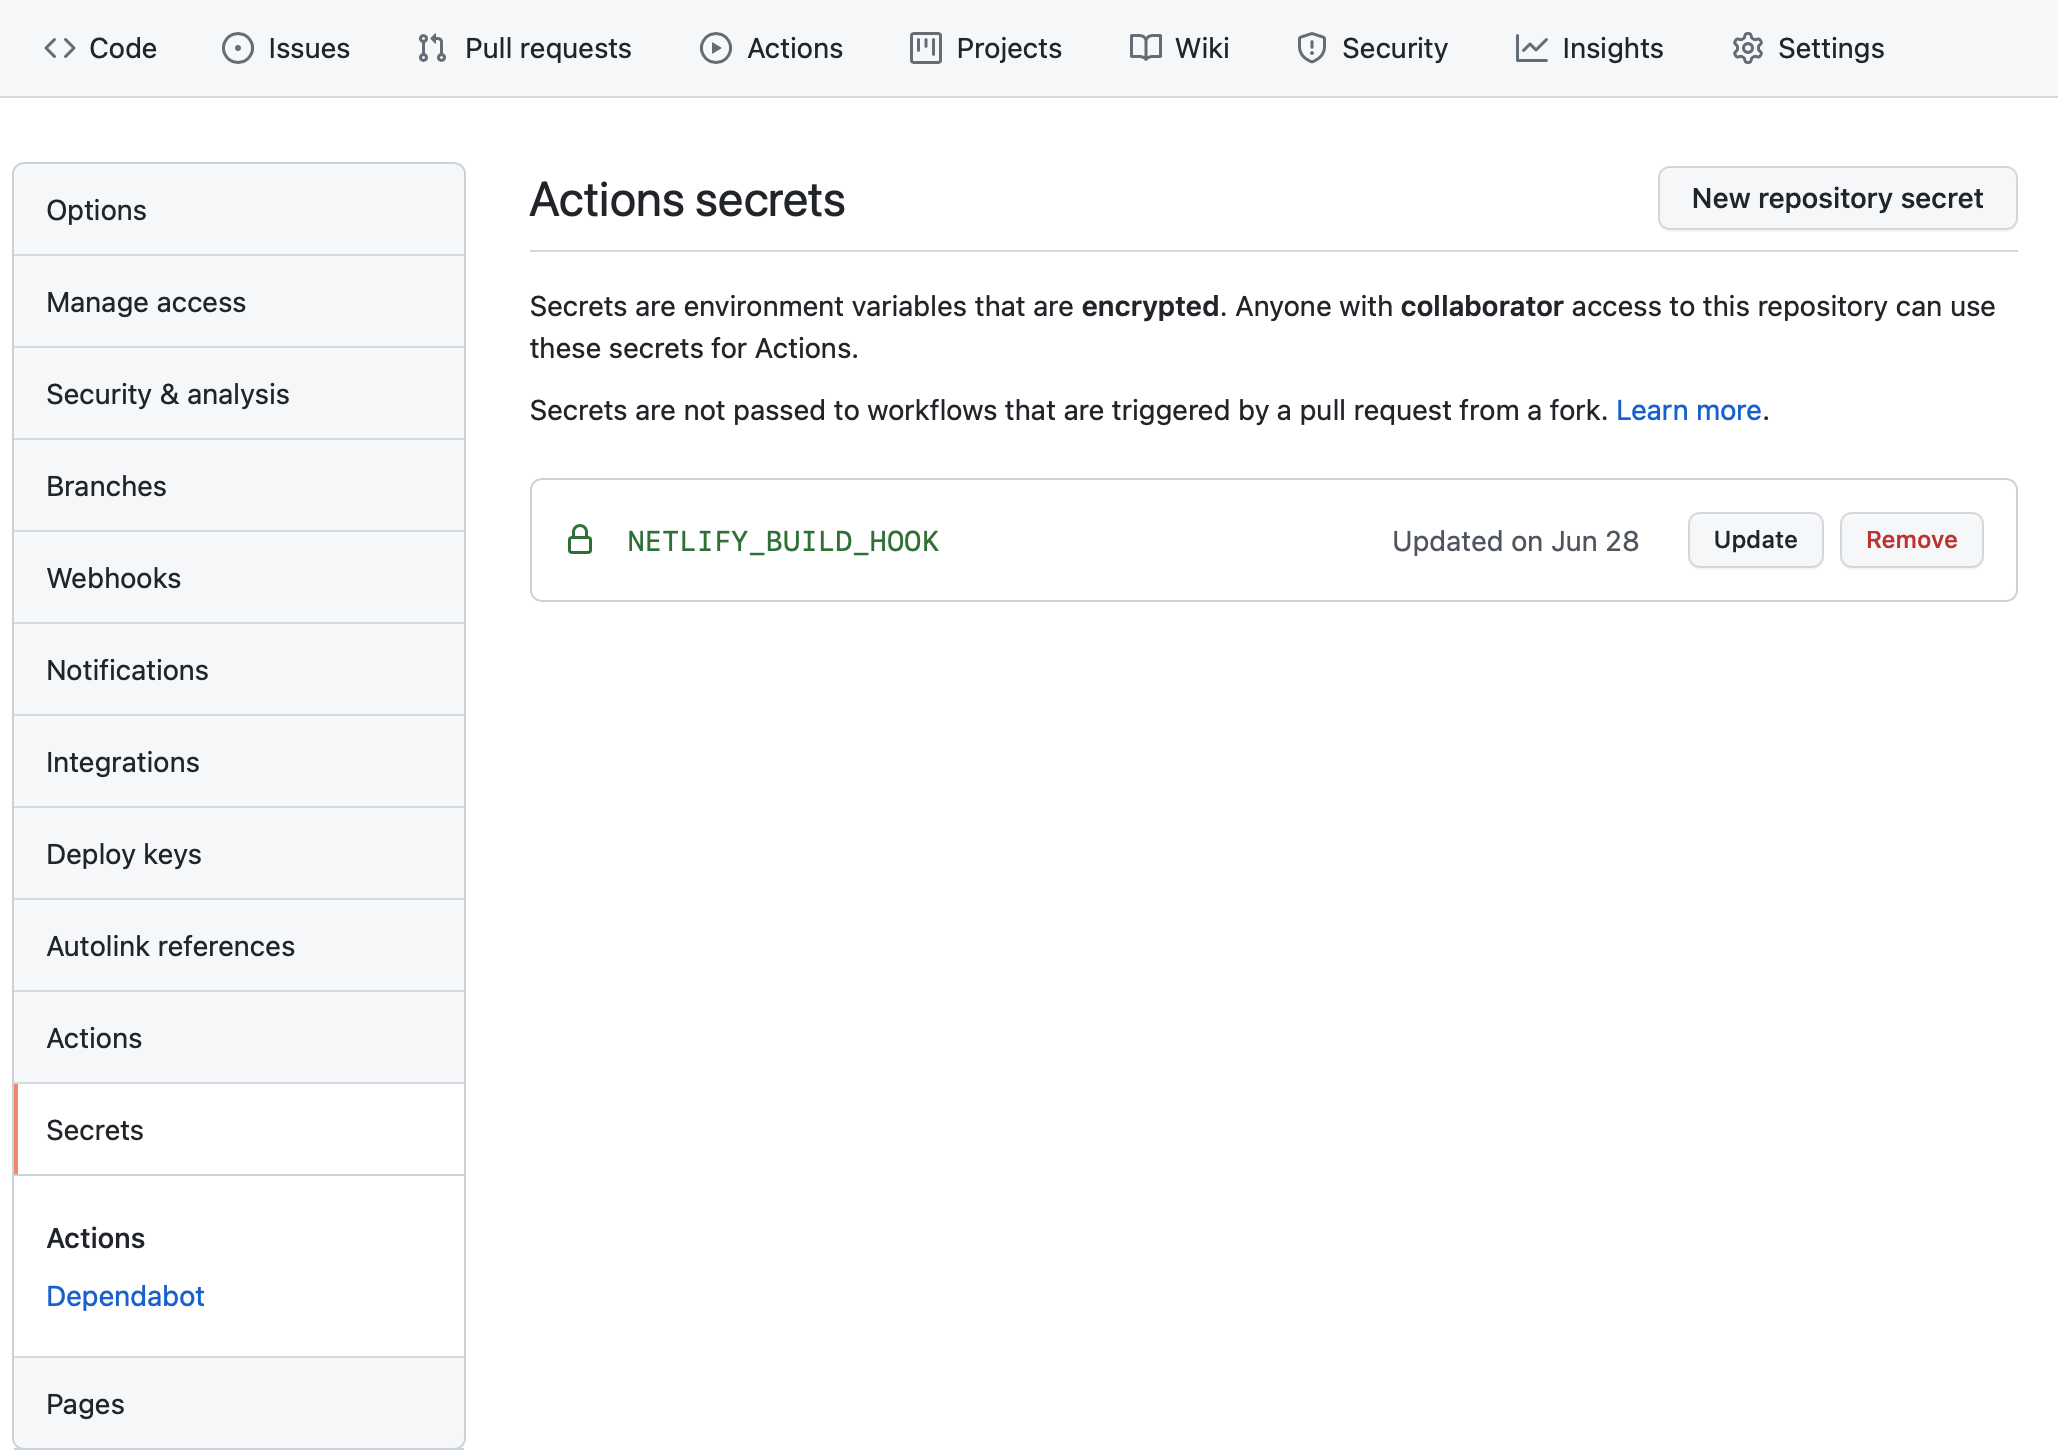
- In your GitHub repo, go to Settings > Secrets > Actions and click New repository secret
- Add a schedule file to your project
- Create a new directory in your project called
.github - Within that directory, create another called
workflows - Add a new file in
.github/workflowscalledmain.yml
- Create a new directory in your project called
- Add the following text to the
main.ymlfile you just created. Be sure that the spacing and indentation is exactly as presented here, as it will impact whether the action runs correctlyname: Schedule Netlify Build on: workflow_dispatch: schedule: - cron: '0 10 * * *' # Once a day around 6am ET (10am UTC) jobs: build: name: Request Netlify Webhook runs-on: ubuntu-latest steps: - name: POST to Build Hook env: BUILD_HOOK: ${{ secrets.NETLIFY_BUILD_HOOK }} run: curl -X POST -d {} $BUILD_HOOK - See your GitHub Actions run in the Actions tab of your GitHub repo