

Data Sources
Overview of Data Sources
Evidence extracts all data sources into a common storage format (called Parquet) to enable querying across multiple data sources using SQL.
- To query against your data sources, you first need to extract the data into Parquet, using
npm run sources - Supported sources including SQL databases, flat data files (CSV etc), and non-SQL data sources (e.g. APIs)
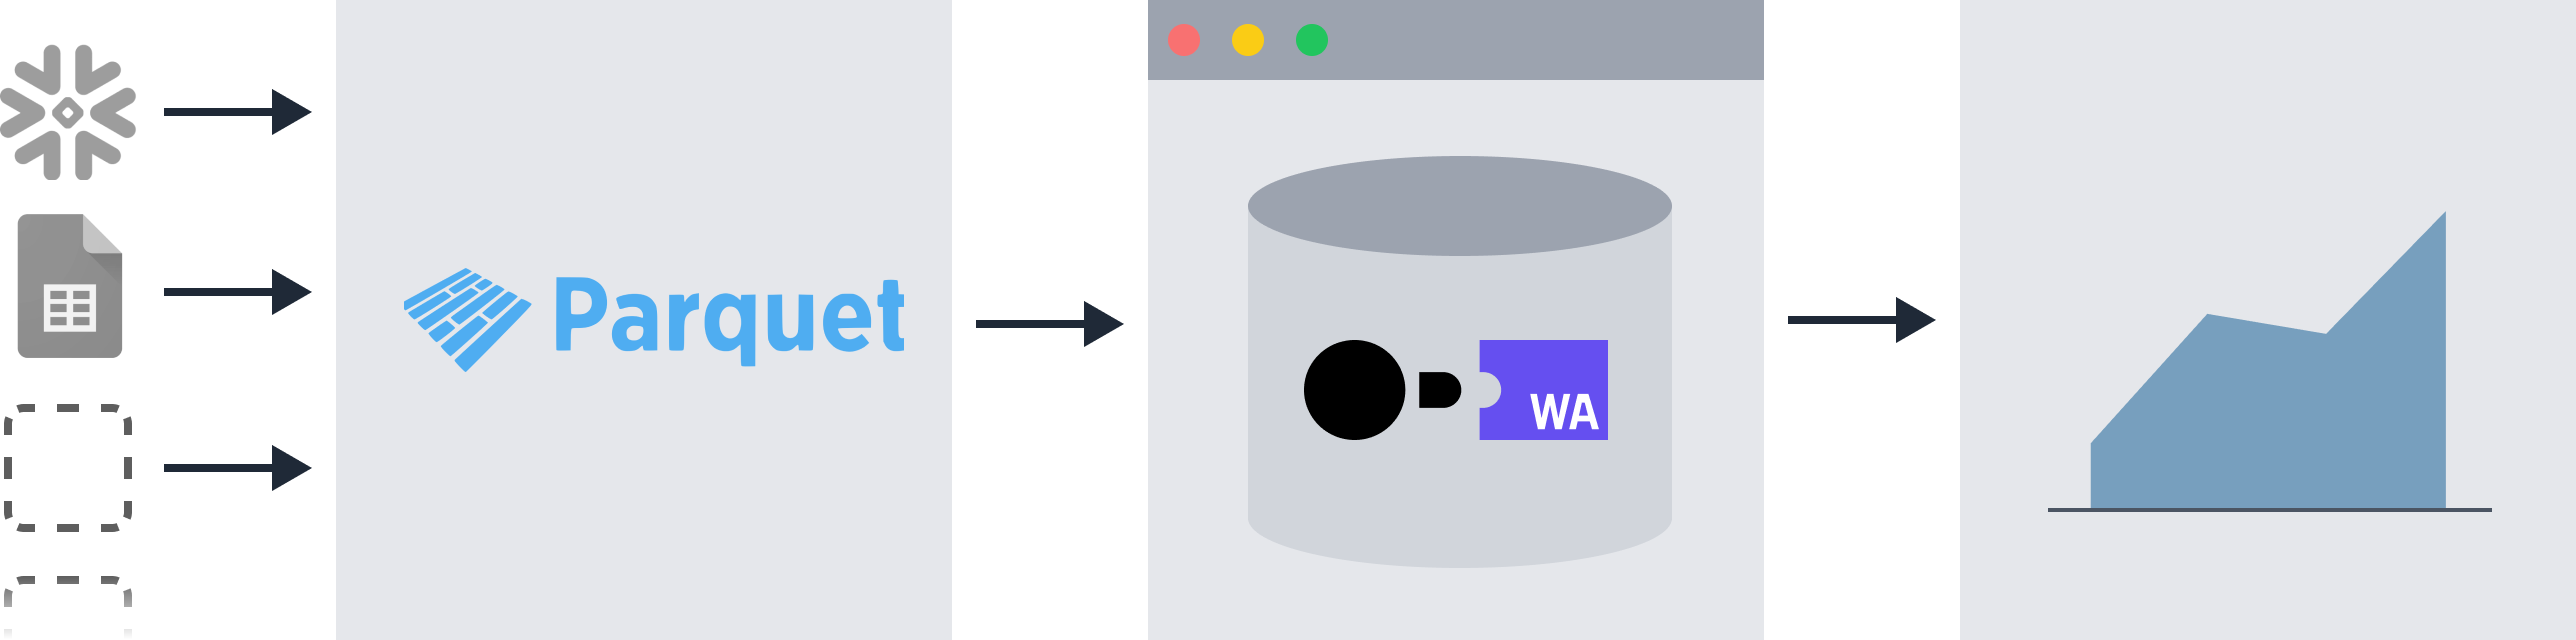
More information about the architecture design can be found in this article.
Connect your Data Sources
To connect your local development environment to a database:
- Run your evidence app with
npm run dev - Navigate to localhost:3000/settings
- Select your data source, name it, and enter required credentials
- (If required) Open the
connections.yamlfile inside/sources/[source_name]and add any additional configuration options - (If required) Add source queries
- Rerun sources with
npm run sources
Evidence will save your credentials locally, and run a test query to confirm that it can connect.
Connections to databases in production are managed via environment variables
Evidence supports:
- BigQuery
- Snowflake
- Redshift
- PostgreSQL
- Timescale
- Trino
- Microsoft SQL Server
- MySQL
- SQLite
- DuckDB
- MotherDuck
- Databricks
- Cube
- Google Sheets
- CSV
- JavaScript
- & More
Configure Source Queries
For SQL data sources, choose which data to extract by adding .sql files to the /sources/[source_name]/ folder.
N.B: These queries use the data source's native SQL dialect.
.-- sources/
   `-- my_source/
      |-- connection.yaml
      `-- my_source_query.sql
Each of these .sql files will create a table that can be queried in Evidence as [my_source].[my_source_query].
Non-SQL data sources
For non-SQL data sources, configuring the data extracted is achieved in other ways. Refer to the documentation for the specific data source for details.
Run Sources
You can extract data from configured sources in Evidence using npm run sources. Sources will also rerun automatically if you have the dev server running and you make changes to your source queries or source configuration.
Working with Large Sources
In dev mode, if you have large sources which take a while to run, it can be helpful to only run the sources which have changed. There are a few ways to accomplish this:
- If your dev server is running, any changes you make to source queries will only re-run the queries which have changed
- Run a modified sources command to specify the source you want to run:
npm run sources -- --changedrun only the sources with changed queriesnpm run sources -- --sources my_sourcerunmy_sourceonlynpm run sources -- --sources my_source --queries query_one,query_tworunmy_source.query_oneandmy_source.query_twoonly
Increase Process Memory
If you are working with large data sources (~1M+ rows), your npm run sources process may run out of memory, with an error similar to this:
FATAL ERROR: Reached heap limit Allocation failed - JavaScript heap out of memoryOne way to circumvent this is to increase the amount of memory allocated to the process. The below command increases the memory to 4GB (the number is measured in MB), but you can set it arbitrarily up to the RAM of your machine
Mac OS / Linux
NODE_OPTIONS="--max-old-space-size=4096" npm run sourcesWindows
set NODE_OPTIONS=--max-old-space-size=4096 && npm run sourcesBuild Time Variables
You can pass variables to your source queries at build time using environment variables of the format EVIDENCE_VAR__variable_name=value.
.env
EVIDENCE_VAR__client_id=123Then in your source queries, you can access the variable using ${} syntax:
select * from customers
where client_id = ${client_id}
This will interpolate the value of client_id into the query:
select * from customers
where client_id = 123
Note that these variables are only accessible in source queries, not in file queries or queries in markdown files.
New Data Sources
We're adding new connectors regularly. Create a GitHub issue or send us a message in Slack if you'd like to use Evidence with a database that isn't currently supported.
The source code for Evidence's connectors is available on GitHub
Troubleshooting
If you need help with connecting to your data, please feel free to send us a message in Slack.